Ultimate Guide to Building a High-Performance Media Server with NVIDIA Shield TV and External Storage Solutions
Why You Need a High-Performance Media Server
In the era of streaming and on-demand content, having a reliable and powerful media server is more crucial than ever. Whether you’re a movie buff, a TV show enthusiast, or someone who loves to stream live events, a high-performance media server can elevate your viewing experience significantly. Here, we’ll explore how to build an exceptional media server using the NVIDIA Shield TV and external storage solutions.
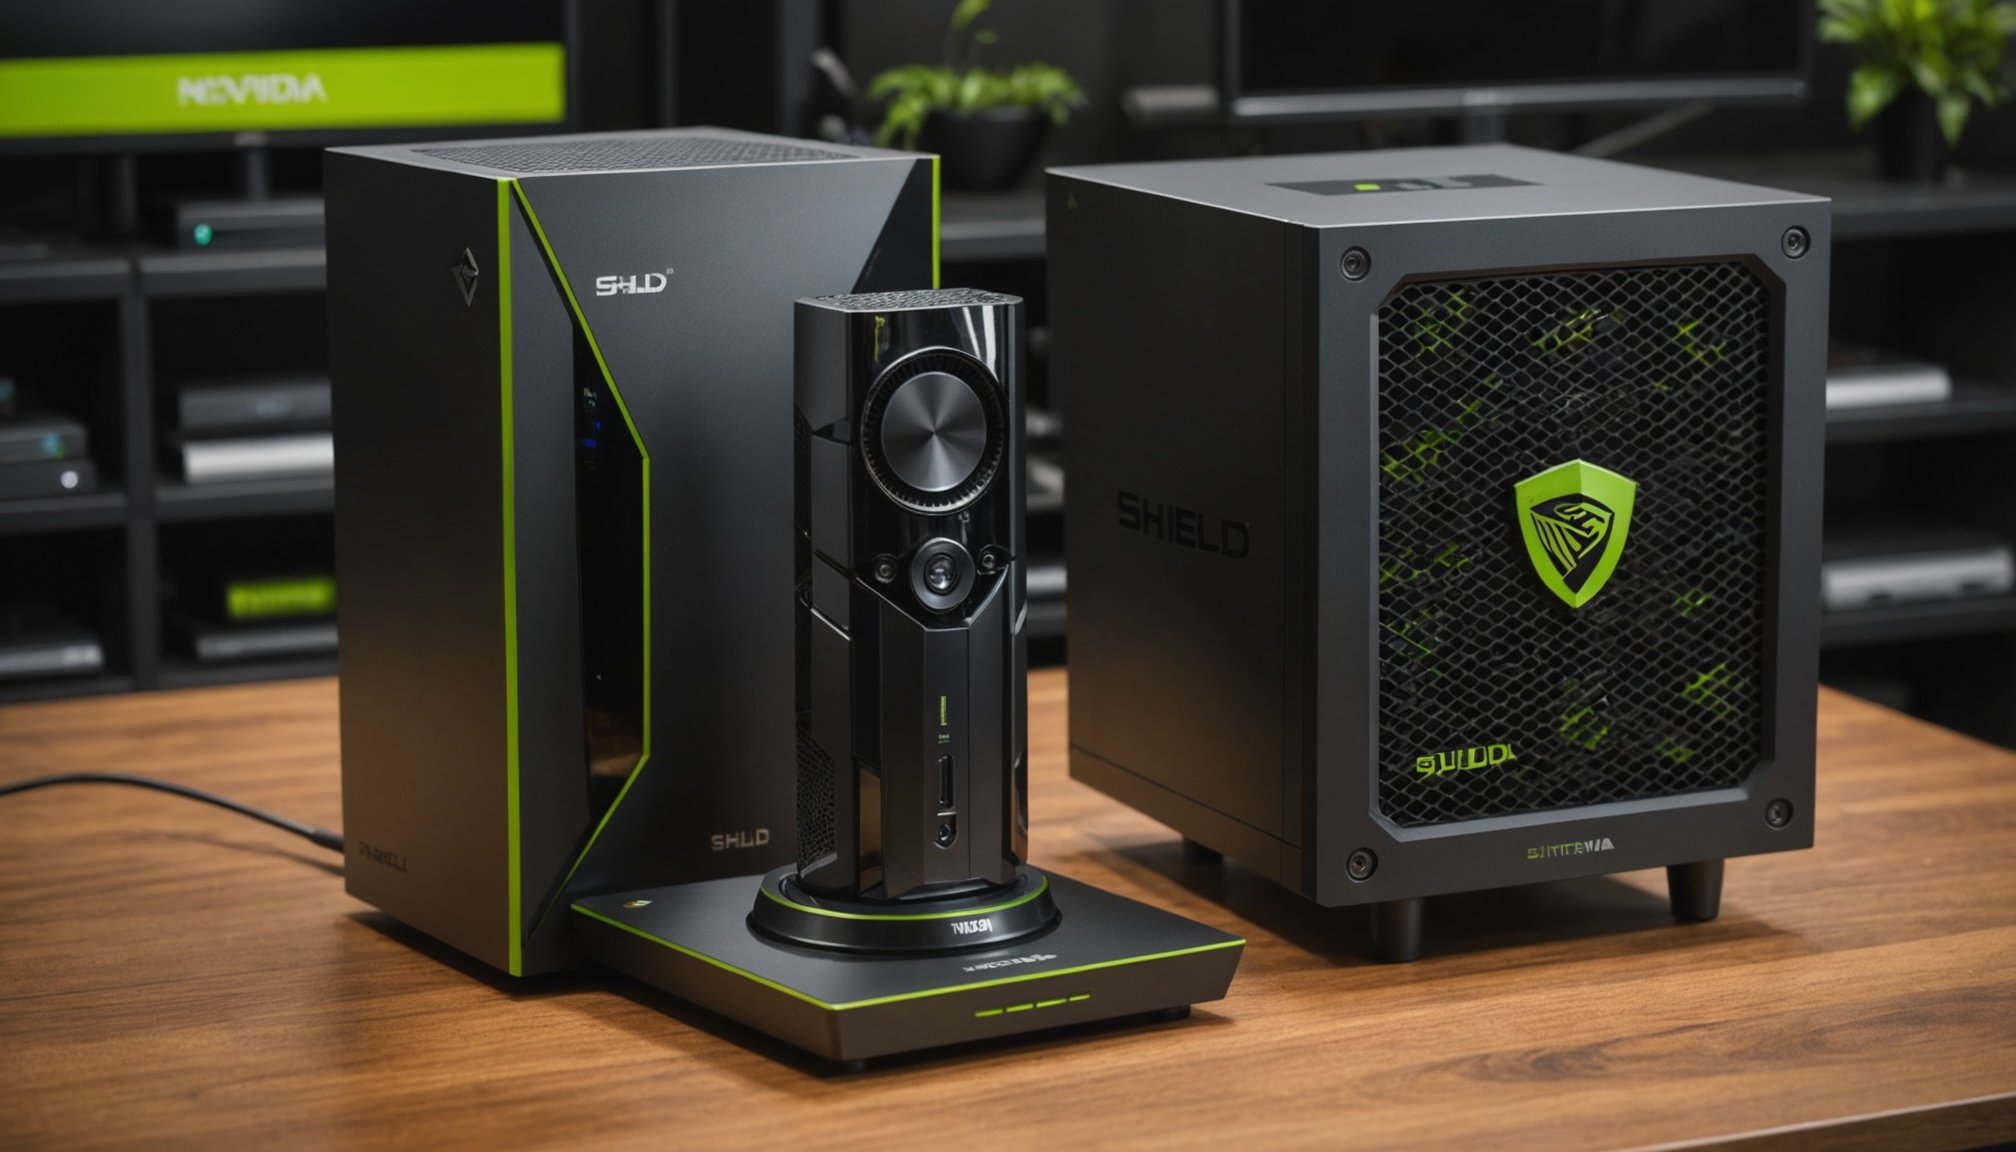
Choosing the Right Hardware: NVIDIA Shield TV
When it comes to building a media server, the choice of hardware is paramount. The NVIDIA Shield TV stands out as an excellent option due to its powerful specifications and user-friendly interface.
Also to see : Creating a High-Performance Virtualization Server with Proxmox VE on Your AMD Ryzen 9 5900X: A Step-by-Step Guide
Key Features of NVIDIA Shield TV
- Processing Power: The NVIDIA Shield TV is equipped with a robust Tegra X1 processor, which ensures smooth performance and quick loading times for your media content.
- Streaming Capabilities: It supports high-resolution streaming up to 4K at 60Hz, along with Dolby Vision and HDR10, providing an immersive viewing experience.
- Storage Expansion: While the Shield TV comes with internal storage, it also supports external storage solutions, allowing you to expand your media library significantly.
- User Interface: The Android TV interface is intuitive and easy to navigate, making it a great choice for both beginners and tech-savvy users.
Setting Up Your Media Server with External Storage
To create a comprehensive media server, you’ll need to integrate external storage solutions. Here’s how you can do it:
Selecting the Right External Storage
When choosing external storage, consider the following factors:
In the same genre : Unlock the full potential of your dell inspiron 7706 2-in-1 for effortless graphic design in adobe creative cloud
- Capacity: Ensure the hard drive or NAS (Network Attached Storage) has enough space to store your entire media library. For example, if you have a large collection of 4K videos, you might need a storage solution with several terabytes of capacity.
- Speed: Opt for SSDs (Solid-State Drives) for faster access times, especially if you plan to stream high-resolution content. For larger, less frequently accessed files, traditional hard drives can be more cost-effective.
- Connectivity: Make sure the storage solution supports the necessary connectivity options, such as USB, SATA, or Ethernet for NAS devices.
Integrating External Storage with NVIDIA Shield TV
Here’s a step-by-step guide to integrating external storage with your NVIDIA Shield TV:
- Connect the External Storage:
- Plug your external hard drive or SSD into the USB port of your NVIDIA Shield TV.
- If using a NAS, connect it to your network via Ethernet.
- Format the Storage:
- Ensure the external storage is formatted in a compatible file system (e.g., NTFS, exFAT).
- You may need to format the drive using your Shield TV or a computer before use.
- Set Up Plex Media Server:
- Install the Plex Media Server app on your NVIDIA Shield TV or on your NAS if it supports it.
- Configure Plex to recognize and index your media files stored on the external storage.
### Example of External Storage Setup
| Storage Solution | Capacity | Connectivity | Use Case |
|
|----------|
|----------|
| External Hard Drive | 4TB | USB 3.0 | Large media libraries |
| SSD | 1TB | USB 3.0 | High-speed access for 4K content |
| NAS | 8TB | Ethernet | Centralized storage for multiple devices |
Optimizing Your Media Server for Performance
To ensure your media server performs optimally, consider the following tips:
Ensure Sufficient Network Bandwidth
- A robust network is crucial for seamless streaming. Ensure your router supports high bandwidth and consider using a wired Ethernet connection for your Shield TV and NAS.
Use a Content Delivery Network (CDN)
- If you plan to access your media server remotely, using a CDN can help reduce latency and improve streaming quality. This is particularly useful if you have users accessing the server from different locations.
Optimize Video Compression
- Efficient video compression can significantly reduce bandwidth usage without compromising quality. Use compression algorithms like H.264 or HEVC to balance video quality with smaller file sizes.
Key Features to Look for in a Media Server
When building or selecting a media server, there are several key features you should prioritize:
Scalability
- Your media server should be able to scale with your growing media library and user base. Ensure it can handle an increasing number of users and content without lag.
Video and Audio Quality
- Support for high-resolution video and audio codecs is essential. Look for servers that support codecs like H.264, HEVC, and audio codecs like OPUS.
Adaptive Streaming
- Adaptive streaming allows for seamless video playback on different devices and network speeds. This feature is crucial for ensuring a smooth viewing experience across various devices.
Transcoding Capabilities
- A good media server should have built-in transcoding capabilities to convert videos into different formats and resolutions, enabling playback on various devices.
Using Plex Media Server for a Seamless Experience
Plex is one of the most popular media server software options, and for good reason. Here’s how you can use Plex to enhance your media server experience:
Setting Up Plex
- Install Plex Media Server on your NVIDIA Shield TV or NAS.
- Configure Plex to scan and index your media files stored on the external storage.
- Set up user accounts and roles to manage access and content upload.
Key Plex Features
- Direct Play: Plex allows direct play of media files without the need for transcoding, which can save processing power and ensure smoother playback.
- Remote Access: With Plex, you can access your media server remotely, making it easy to stream content from anywhere.
- Photo Plex: Plex also supports photo libraries, allowing you to manage and stream your photos alongside your video content.
### Key Plex Features

- **Direct Play**: Stream media files without transcoding.
- **Remote Access**: Access your media server from anywhere.
- **Photo Plex**: Manage and stream your photo library.
- **Plex Pass**: Offers additional features like offline sync, multi-device support, and more.
Practical Insights and Actionable Advice
Here are some practical tips to make the most out of your media server setup:
Benchmark Your System
- Use test files like the JellyFish Files to benchmark your system and understand its limitations. This helps in identifying what your system can handle natively and what might need on-the-fly conversion.
Monitor Resource Utilization
- Keep an eye on your system’s resource utilization, especially when streaming high-resolution content. This ensures that your server doesn’t get overwhelmed and maintains a smooth streaming experience.
Regular Updates
- Regularly update your software and firmware to ensure you have the latest features and security patches.
Building a high-performance media server with the NVIDIA Shield TV and external storage solutions is a rewarding project that can significantly enhance your media consumption experience. By choosing the right hardware, optimizing your setup for performance, and using robust media server software like Plex, you can create a seamless and enjoyable streaming environment.
### Final Checklist

- **Hardware**: NVIDIA Shield TV, external hard drives or SSDs, NAS for centralized storage.
- **Software**: Plex Media Server for indexing and streaming media files.
- **Network**: Ensure high bandwidth and consider using a CDN for remote access.
- **Optimization**: Use efficient video compression, ensure sufficient RAM and CPU power.
- **Benchmarking**: Test your system with benchmark files to understand its capabilities.
By following this guide, you’ll be well on your way to creating a media server that meets all your needs, whether you’re streaming movies, TV shows, or live events. Happy building